This is such a quick and easy craft that I'm surprised we had not thought to do it long ago. Or maybe it's just that the two of us don't find ourselves alone very often, and activities requiring scissors don't work so well with Sooby's younger sibs around.
Anyway, today we are sharing our procedure for creating a vase of flowers so beautiful that some people are having to look twice to make sure they aren't real. Here is what we did:

1. We began with these supplies: three 8" x 10" sheets of colored wrapping tissue paper; a cardboard circle, 4" in diameter, that we used for a cutting pattern; a 10" pipe cleaner; and a pair of scissors for each of us.
2. We folded the paper in half, and then in half again, leaving a shape that was not exactly square, but close. We placed the pattern atop the thicknesses of paper and cut around it. (Sooby traced the pattern with a pencil first on hers.)
3. At that point, our paper circles looked like this. (The photo shows eight of our twelve circles.) We also curled down one end of the pipe cleaner--this is to keep the flower petals from sliding off the top end as you push them up.

4. Next--and this is the part Sooby loved--you poke the sharp end of the pipe cleaner (the end you did not curl) into the middle of ONE circle of paper. Slide it all the way to the top, and gently scrunch it.


6. Finally, find a small vase to display your artwork. If it is too tall, you can always add some paper filler to the bottom, as we did here.
7. Make as many flowers as you want in your bouquet. Here is what ours looked like at the end of about an hour and a half:
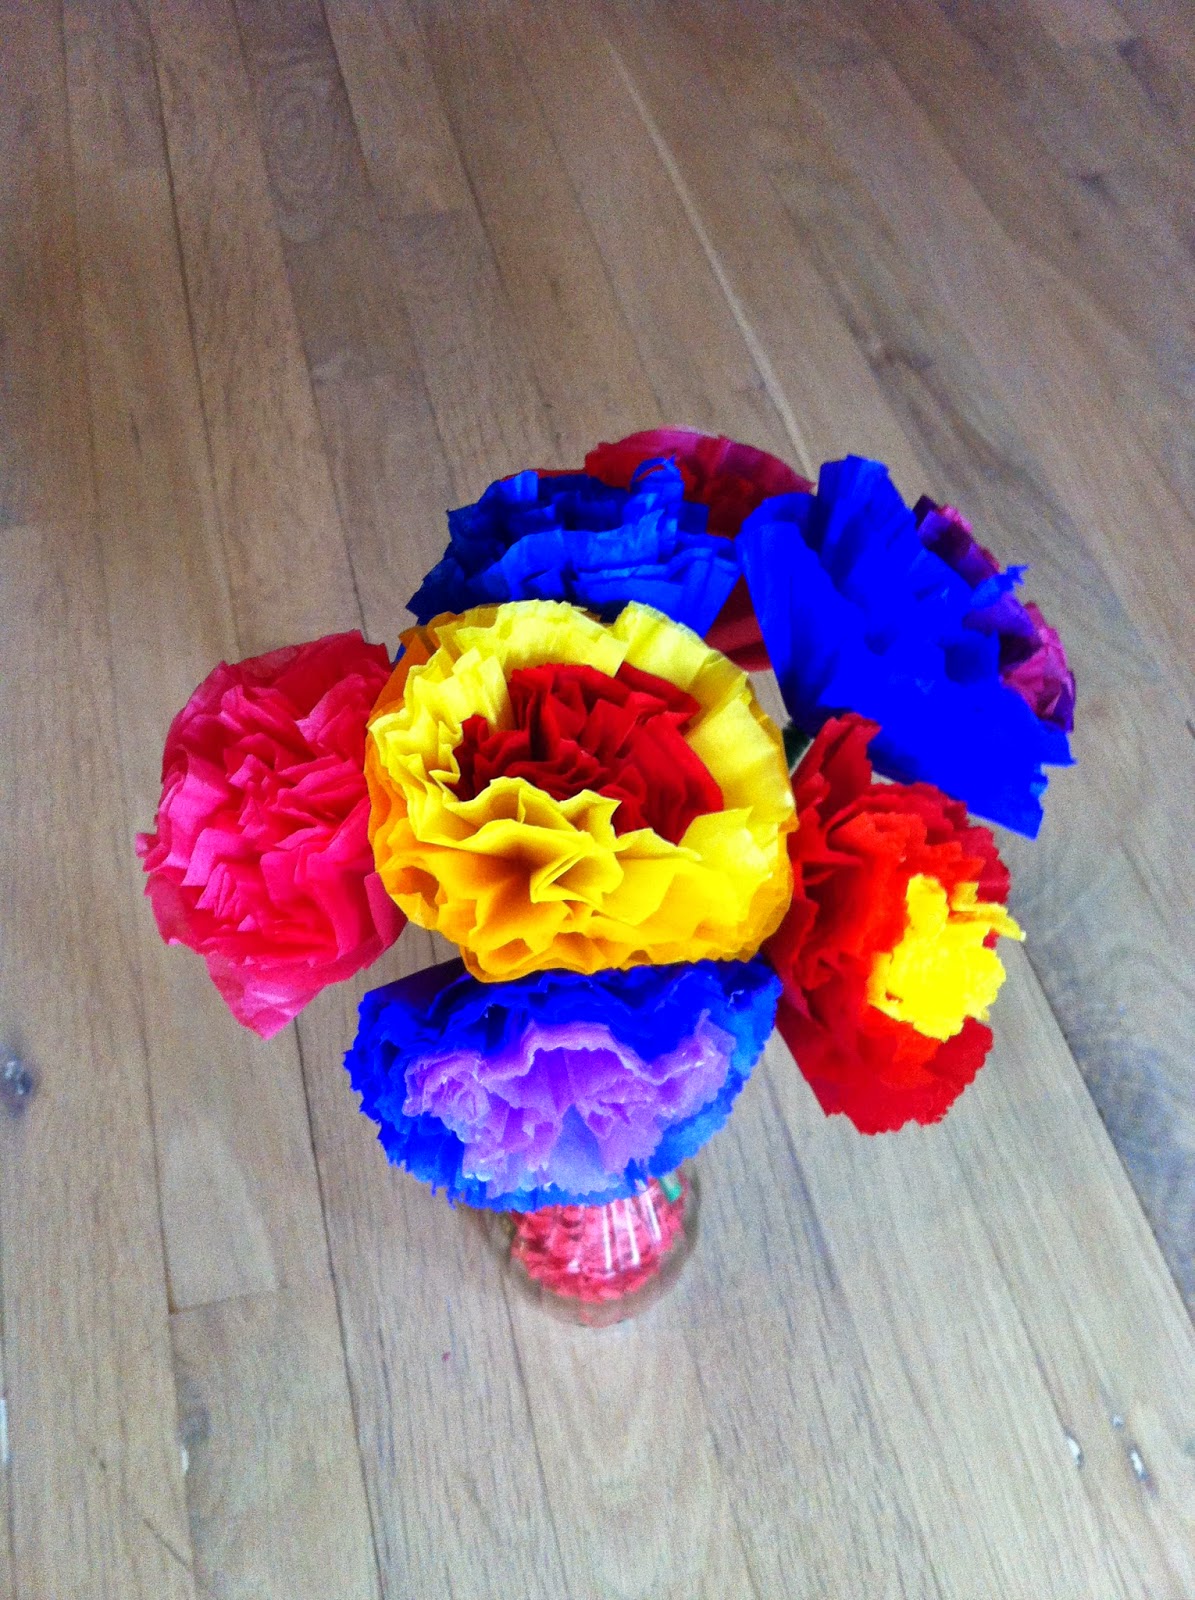
8. If you wish, experiment with sizes, shapes, colors, and tools. For a couple of our flowers, we used pinking scissors for textured edges. On others, such as the yellow one with the red center, we used circles of different diameters.
Sooby and I recommend turning your kitchen into a flower factory anytime the weather keeps you indoors. This would also be a very practical, easy activity for early elementary classrooms, Bible School craft sessions, or daycare center art projects.
If your flower-making session produces more tissue flora than you need, just save them until next May Day and go ring a few doorbells. The flowers would twist perfectly around a door knob or handle and would be certain to brighten someone's day.
Hi,
ReplyDeleteThanks for sharing this article..... Nicely Written....
tissue paper suppliers in chennai